
 Insulating your attic is one of the smartest home improvement projects you can tackle. It’s not just about keeping your house warm in winter and cool in summer—proper attic insulation can also save you a lot on energy bills.
Whether you’re using fiberglass or another type, knowing how to install insulation in your attic correctly is key. In this guide, we’ll walk you through everything you need to know, from choosing the right insulation material and tools to installing it safely. Pure Eco Inc insulation contractor in Torrance, California, can help you with such tasks.
We’ll also cover important steps such as dealing with vapor barriers and recessed lights and adding a second layer if needed. By the end, you’ll be ready to insulate an attic like a pro so you can make your home more comfortable and energy-efficient.
Preparing For The Job
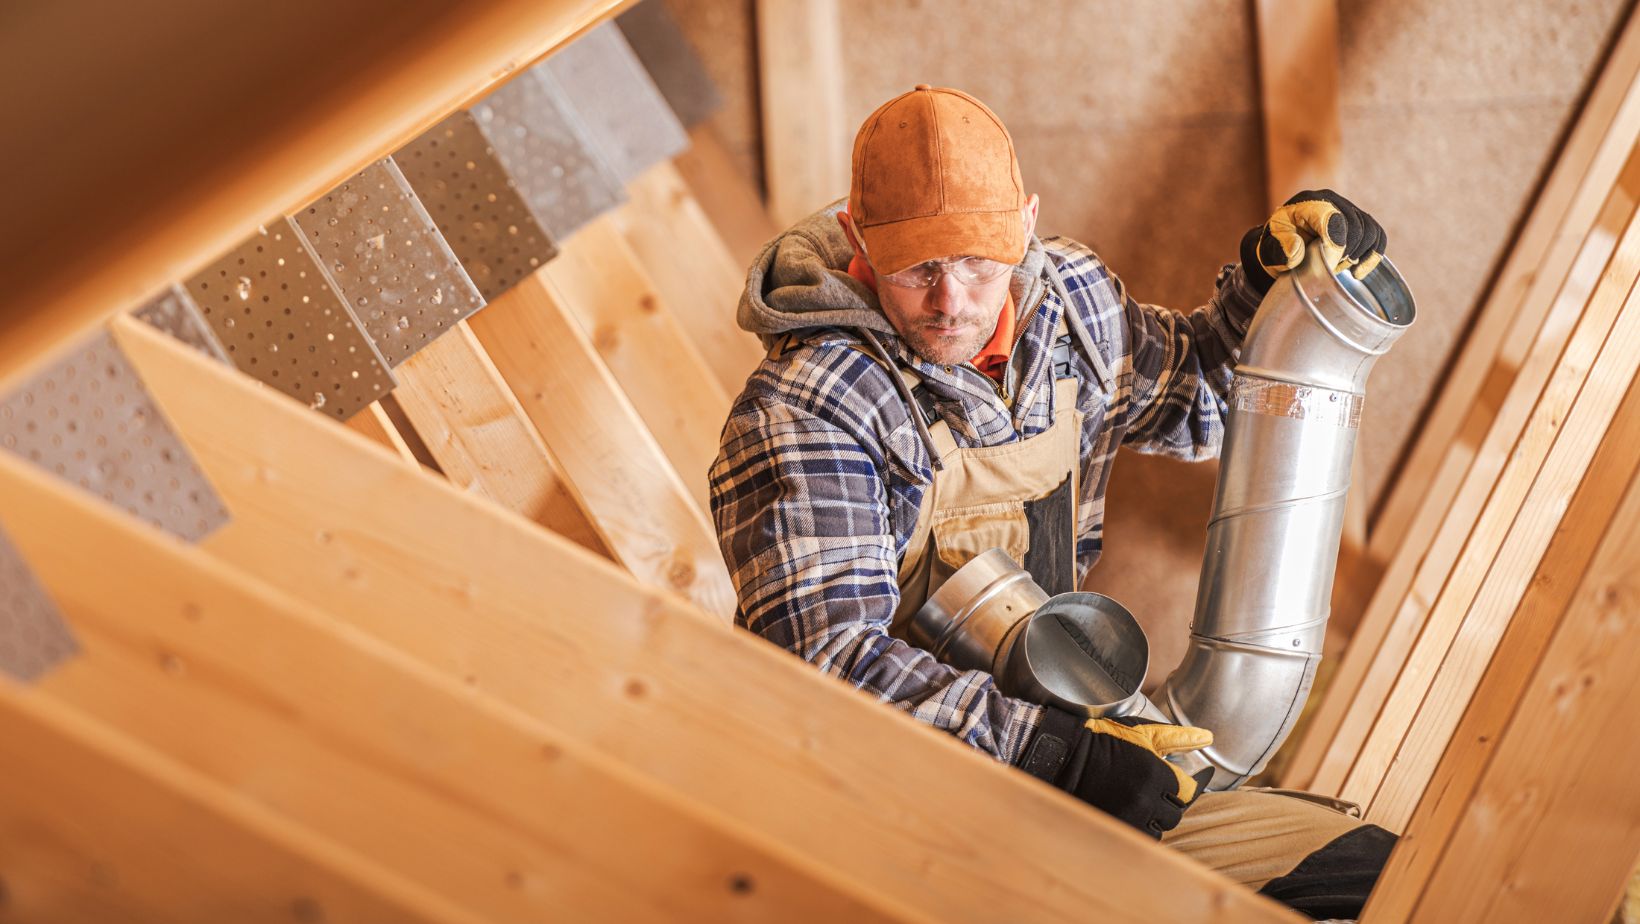
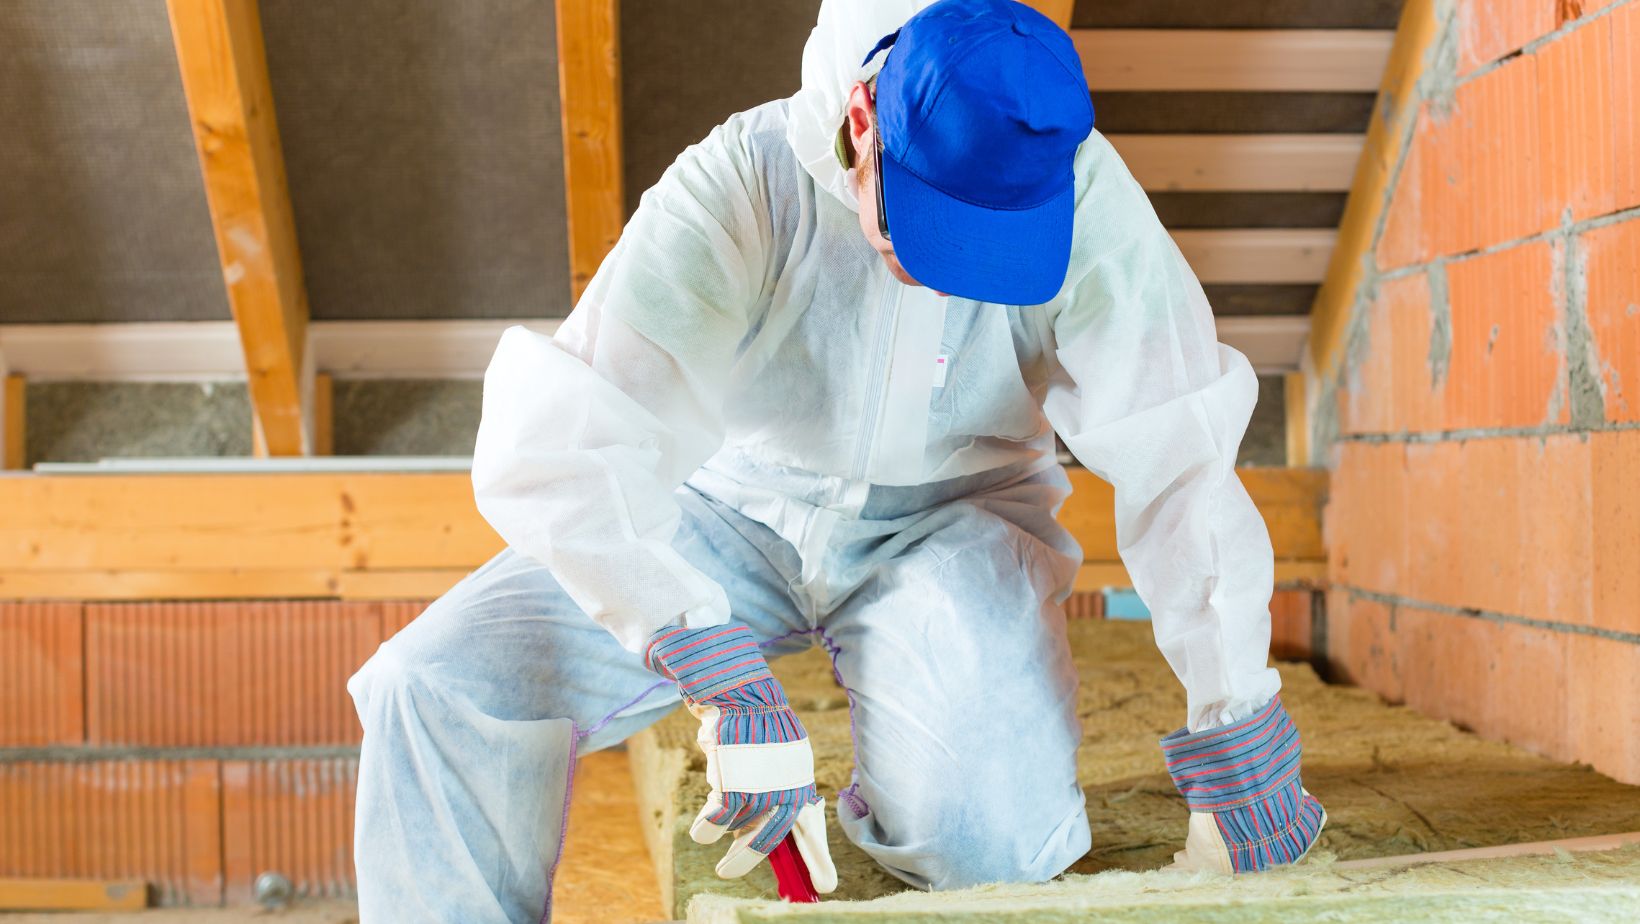
Before you start installing insulation in your attic, it’s important to get things ready. Safety comes first! Make sure you’re wearing gloves, a mask, and goggles to protect yourself from fiberglass and dust. Attics can get stuffy, so keep them well-ventilated, especially when you’re handling insulation materials.
Next, gather all the tools you’ll need. You’ll want a utility knife, staple gun, measuring tape, and, of course, the insulation itself—whether it’s fiberglass, batt, or another type.
Don’t forget to check if there’s already insulation in your attic. If there’s old or damaged insulation, you might need to remove it before adding the new one. This is also a good time to look out for hazards such as light fixtures or soffit vents that you’ll need to work around as you move toward the attic to start the job.
Choosing the Right Insulation
When you’re figuring out how to install insulation in your attic, the first step is picking the right type. The most common choice is fiberglass insulation. It’s easy to work with and gets the job done. There’s also cellulose, which is made from recycled paper, and spray foam, which is great for hard-to-reach spots but can be a bit pricey.
You’ll also hear about R-value when looking at insulation. This just means how well the insulation keeps heat in (or out). A higher R-value means better insulation, which is super important if you want to avoid ice dams in winter.
You can grab insulation materials at any home improvement store or order online if that’s easier. Whether it’s batt insulation or another type, make sure to get what fits your attic’s needs best.
Preparing the Attic
Before you start insulating, make sure your attic is ready. First things first, clear the area. Get rid of any clutter or debris lying around. You don’t want anything in your way while you’re working.
Next, check for gaps and cracks. Take a good look around the attic for any spots where air might be leaking. Seal those up before you put in the insulation to make sure it works properly.
Finally, look out for hazards. Be careful around recessed lights, light fixtures, and any exposed wires. Some areas, such as soffit vents and spots where you need a vapor barrier, might need special attention.
It’s better to spot these now rather than later. With everything prepped, you’ll be all set to insulate and even install the second layer if needed.
Installing the Insulation
Now that your attic is ready, it’s time to start installing the insulation. Here’s how you do it:
- Measure the space: Start by measuring the area where you’ll install the insulation. Use a tape measure to figure out the width and length of the spaces between the joists. This helps you understand how much insulation you’ll need.
- Cut the insulation: Next, cut the insulation to size. Grab a utility knife and carefully cut the batt insulation to match the measurements you just took. Make sure it’s a snug fit.
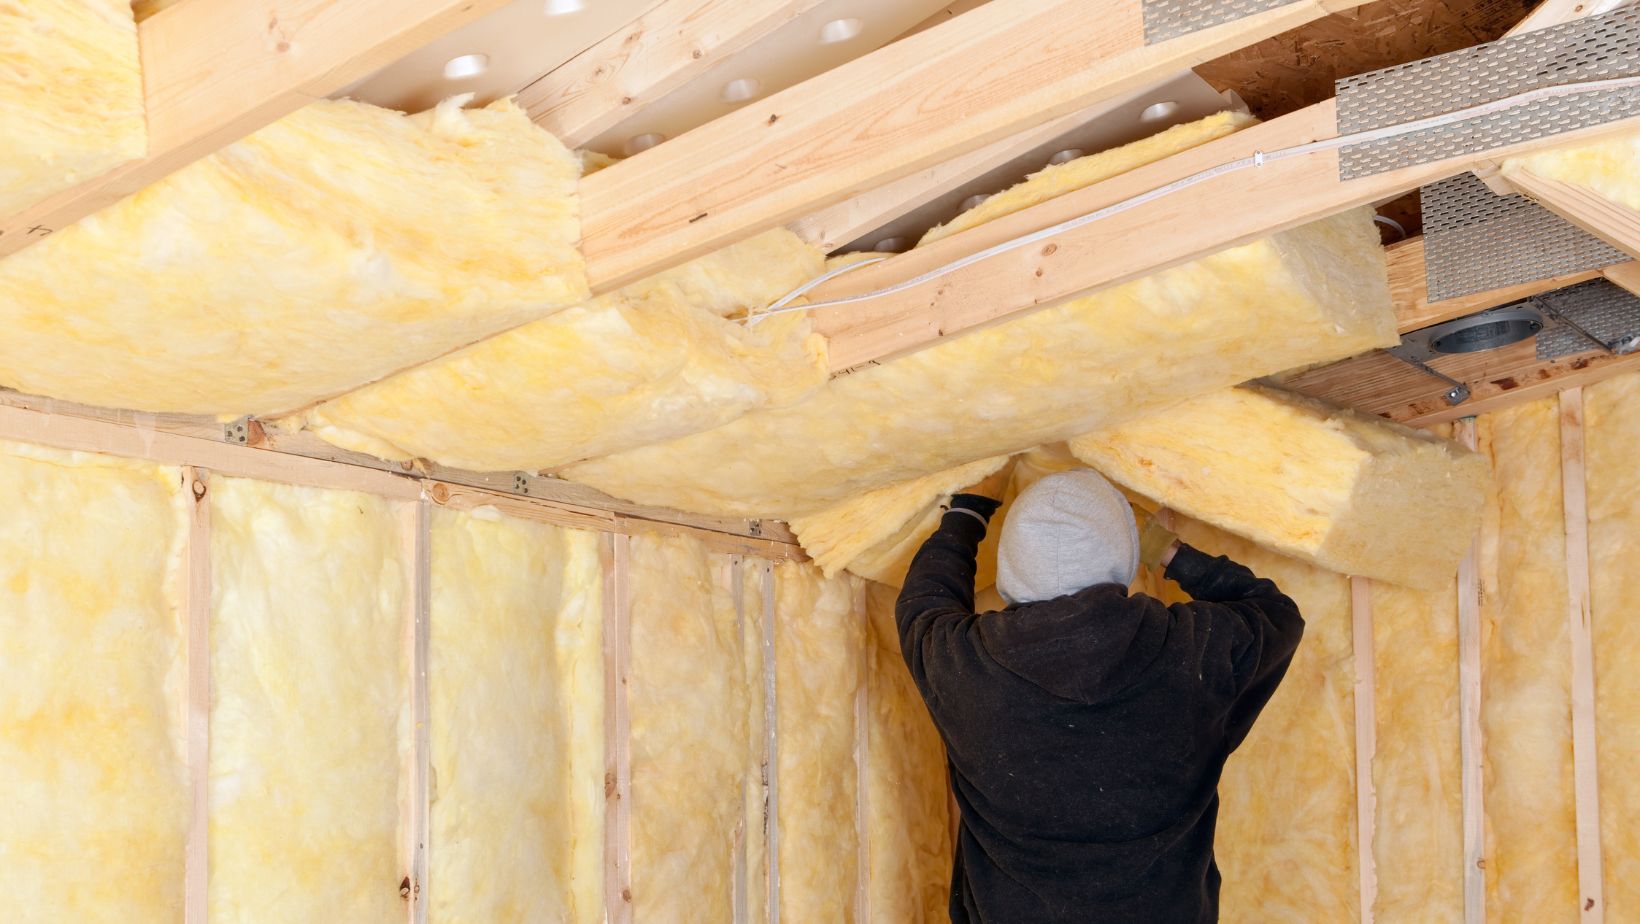
- Lay down the insulation: Place the insulation between the joists, making sure it fits without leaving any gaps. Press it down lightly to ensure it’s secure but not too tight.
- Add a second layer (if needed): If your attic needs extra insulation, you can install a second layer. Just lay it down perpendicular to the first layer, covering any gaps. This helps improve insulation and keeps your home cozy.
- Work around obstacles: Be careful around pipes, wires, or recessed lights. Cut the insulation to fit around these obstacles without covering them completely.
Pay extra attention to soffit vents and light fixtures. Make sure you don’t block ventilation or create a fire hazard. Ventilation is key to preventing issues like moisture buildup.
Post-Installation Tips
After you’ve finished insulating the attic, take a moment to check your work. Make sure everything is properly in place, with no gaps or loose spots. If you live in a colder area, good insulation can help prevent ice dams during winter, so it’s worth double-checking.
Next, do a quick clean-up, removing any leftover insulation material or debris. Finally, keep an eye on the attic over time. Look out for any signs of moisture or pests, and test new features as you make changes to your home.
The Benefits of Proper Attic Insulation
Proper attic insulation is a win-win for your home. First off, it helps lower your energy bills by keeping your home’s temperature steady. No more overworking your heater in winter or your AC in summer.
Speaking of seasons, good insulation keeps your house cozy in winter and cool in summer, so you’re comfortable all year round. Plus, it’s a smart investment that can boost your home’s value. If you’re looking to sell someday, buyers love knowing they won’t have to worry about insulation.
Wrapping Up
Insulating your attic involves a few key steps: getting the space ready, picking the right insulation, installing it carefully, and then checking your work. The benefits? Lower energy bills, a comfy home year-round, and even a boost in home value.
If you’re looking for attic insulation in Hollywood, CA, you might want to reach out to Pure Eco Inc. This team can help make sure your attic is insulated just right.