
A gravel driveway is one of the simplest ways to improve your home without spending a fortune. It looks clean, works well in all weather, and is easy to fix if problems show up later. Best of all, beginners can install one with basic tools and a bit of patience.
In this guide, I’ll walk you through the full process step by step.
Why a Gravel Driveway Makes Sense
Many homeowners choose gravel because it just works. Gravel lets water drain through, so puddles and cracks are less of a problem. It also costs much less than concrete or asphalt. If part of the driveway sinks or spreads, you don’t need to tear anything out. You just add more gravel and smooth it again.
Another big plus is flexibility. A gravel driveway can fit almost any shape or size. Long rural drives, short side drives, or parking pads all work well with gravel. That’s why it’s often the first choice for beginners.
Planning Comes First, Always
Before you touch a shovel, take time to plan. This step saves you from mistakes later.
Start by marking the driveway area. You can use stakes and string, spray paint, or even garden hoses. Make sure the driveway is wide enough for cars to enter and exit without clipping the edges. Think about how vehicles will turn and where water will flow.
Drainage matters more than most people think. Your driveway should slope slightly away from your home. Even a small slope helps rainwater move off instead of pooling.
When it comes to materials, working with trusted suppliers like Gravel Monkey makes the job easier. They offer gravel that’s made for driveways, not decorative stone that shifts under tyres. Getting the right material from the start prevents headaches later.
Choosing the Right Gravel Type
This is where many beginners go wrong. Not all gravel is good for driveways. Round stones look nice, but they roll and scatter. You want gravel that locks together when packed down. Crushed stone, road base, or crusher run are all strong choices. These materials have sharp edges that grip and hold.
Using proper driveway gravel improves traction, prevents ruts, and reduces how often you need to add more stone.
Preparing the Ground the Right Way
Once planning is done, it’s time to prepare the ground. Remove grass, weeds, roots, and loose soil from the driveway area. Dig down about six inches. This space is needed for your gravel layers. Skipping this step leads to sinking and later weed growth.
After digging, level the surface and shape a slight slope. Take your time here. A smooth, well-shaped base makes every step after this easier. This is one of the most important parts of gravel driveway installation, even though it’s not the most exciting.
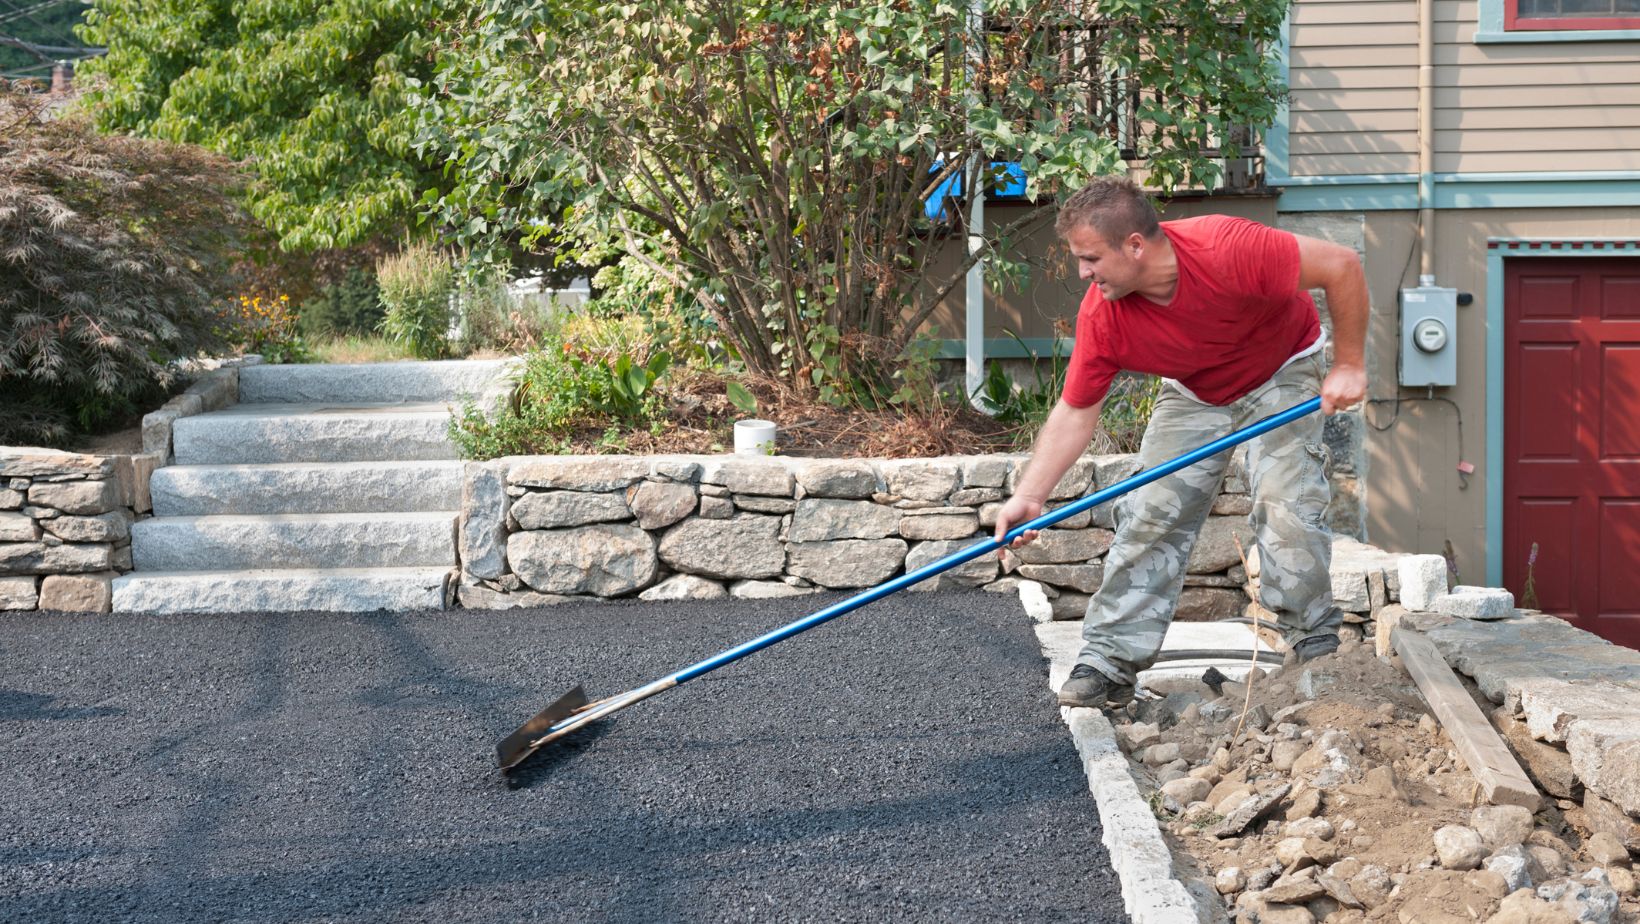
Building a Strong Base Layer
A gravel driveway is only as strong as what’s underneath it. The base layer is usually composed of crushed stone or road base. Spread it evenly across the driveway at about three to four inches thick. Once it’s down, compact it well. A hand tamper works for small areas, while a plate compactor is better for larger drives.
Compacting the base creates a solid foundation. It helps the driveway handle weight, prevents sinking, and keeps the top layer looking smooth.
Cleaning Up the Edges
Edges give your driveway a finished look and help keep gravel in place. You can neatly shape the edges with a shovel, or add edging materials such as metal strips, wood boards, or stone borders. Clean edges stop gravel from spreading into the grass and make maintenance easier. This small step makes a big difference in how the driveway looks from the street.
Letting the Driveway Settle
After installation, let the driveway rest for a day or two if possible. When you first drive on it, go slowly. This helps the gravel settle naturally.
After about a week, walk the driveway and look for low spots. It’s normal to need a small top-up. Add more gravel where needed and rake it smooth.
Good Gravel Goes a Long Way
Installing a gravel driveway is one of the most beginner-friendly home projects you can take on. It doesn’t require fancy tools or special skills. It just takes planning and the right materials.
From choosing quality gravel to building a solid base, each step plays a role. With help from reliable suppliers like Gravel Monkey, the process becomes even smoother.
Take it one step at a time. Pack it well. Keep water moving away. Before you know it, you will have a strong, clean driveway that looks good and works hard every day.